
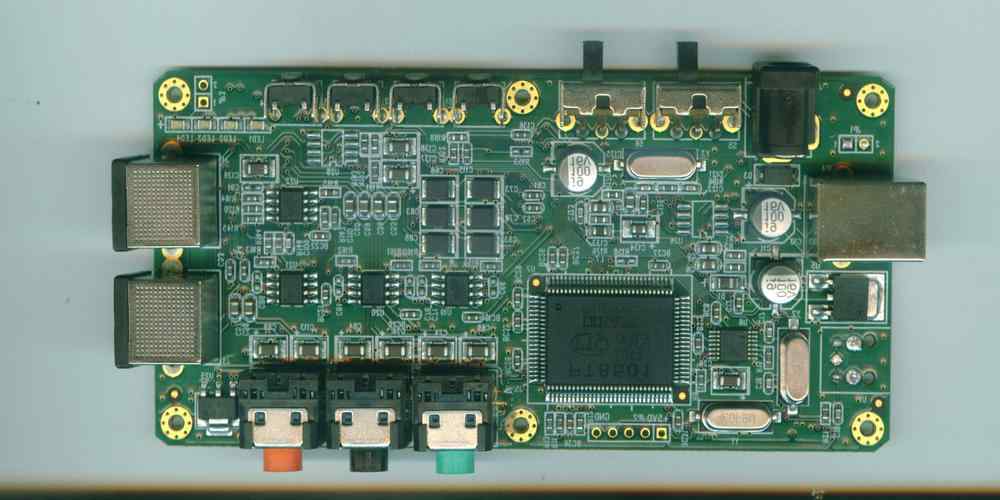
Professional PCB manufacturing and assembly
Building 6, Zone 3, Yuekang Road,Bao'an District, Shenzhen, China
+86-13410863085Mon.-Sat.08:00-20:00

The solder resistance process of PCB circuit board is to cover the solder pad on the printed board with a photographic bottom plate after screen printing, so that it will not be exposed to ultraviolet radiation, and the solder shield is more firmly attached to the surface of the printed board after ultraviolet irradiation, the solder pad is not exposed to ultraviolet light, light irradiation can expose the brass pad. In order to apply lead and tin in the hot air leveling process.
Sunblock welding process can be roughly divided into three operating procedures:
The first step is exposure. First, check that the mylar and glass frames of the exposure frames are clean before beginning the exposure. If it is not clean, wipe it with an antistatic cloth. Then, open the power switch of the exposure machine, then open the vacuum button to select the exposure program and shake the exposure shutter. Before starting the formal exposure, the exposure machine should be allowed to "empty exposure" five times. The role of "empty exposure" is to let the machine into the saturated working state, the most important is to let the UV exposure lamp energy into the normal range. If you do not "empty expose", the energy of the exposure lamp may not be working optimally. Exposure can cause problems with printed boards. After five "empty exposure", the exposure machine has entered the best working state. Before the use of photographic plate alignment, check the quality of the first plate is qualified. Check whether the film surface on the substrate has pinholes and exposed light parts, and printed board graphics are consistent, because this inspection of the photo base plate can avoid some unnecessary reasons to rework or scrap the printed board.
The second step is developing. Generally, the developing operation should be carried out in the developing machine, and the developing parameters such as the temperature, conveying speed and spray pressure of the developer should be well controlled to obtain better developing effects. Developing is to remove the solder resistance on the pad with the developing solution on the part of the shading. The solution used for development is 1% anhydrous sodium carbonate, and the liquid temperature is usually between 30 and 35 degrees Celsius. Before formal development, the temperature of the developer should be raised to make the solution reach the predetermined temperature, so as to achieve the best development effect.
The developer is divided into three parts:
The first section is the spray section, which mainly uses high pressure spray anhydrous sodium carbonate to dissolve the unexposed flux resistance;
The second stage is the washing stage. First of all, the remaining solution is rinsed with water with a high pressure pump, and then rinsed with circulating water, thoroughly rinsed;
The third stage is the drying stage. There is an air knife before and after the drying section, which mainly uses hot air to dry the plate. The plate can also be dried if the temperature in the drying section is high. The correct development time is determined by the development point, which must be maintained at a constant percentage of the total length of the development segment. If the developing point is too close to the outlet of the developing segment, the unexposed solder mask will not be developed sufficiently, resulting in the residue of the unexposed solder mask remaining on the surface of the board. If the exposure point is too close to the entrance of the development section, the exposed solder mask may become hairy and tarnish due to prolonged contact with the developer. Usually the display point is controlled within 40%-60% of the total length of the developing segment. In addition, it is important to note that it is easy to scratch the board when developing. The usual solution is for the operator to wear gloves and handle the boards gently during development. Printed boards vary in size and try to put the same size together. When the board is placed, a certain distance should be maintained between the board and the board to prevent transmission, the board is crowded, resulting in "card board" and other phenomena. After development, the printed board is placed on a wooden bracket.
The following is the third operating procedure of sun resistance welding repair plate:
Repair board includes two aspects: one is to repair the defects of the image, the other is to remove the defects unrelated to the required image. In the process of maintenance, it is necessary to wear gauze gloves to prevent hand sweat from contaminating the board. Common circuit board defects are:
1, jump printing, also known as flying white. The main reason is that the electroplating current is too large, the coating is thick, resulting in too high graphic lines. In the screen printing board, because the scraper and screen printing frame into a certain Angle screen printing, on both sides of the line because the line is too high, no ink: resulting in skip printing, another reason is that the scraper has a gap, the gap is not ink, resulting in skip printing. The main solution is to control the electroplating current and check whether there is a notch on the scraper.
2. Oxidation. PCB board welding resistance layer under the copper foil line there are signs of blackness, the cause is the water after rubbing the board is not dried, printing resistance welding before the surface of the printed board was splashed with liquid or hand touch, the solution is to visually check the copper foil on both sides of the printed board when the screen printing.
3, the surface is not uniform, in the screen printing process did not pay attention to timely printing paper, remove screen printing residual ink, resulting in uneven surface, the solution is to timely printing paper to remove screen printing residual ink.
4. Welding resistance inside the hole. The reason is that in the screen printing process of printing paper is not timely, resulting in excessive accumulation of residual ink screen. The residual ink is printed into the hole under the pressure of the scraper. The solution is timely printing paper, and the mesh number is too low, will also cause the hole resistance welding. Need to choose high mesh screen plate making. The viscosity of the printing material is too low, replace it with a high viscosity printing material. Scraper screen printing Angle size, properly adjust the scraper screen printing Angle, scraper knife edge becomes round, sharpen the scraper knife edge.
5. The figure has pinholes. The reason is that there is dirt on the photographic substrate, so that the printed board should be exposed during the exposure process does not see light, resulting in pinholes in the graphics. The solution is to check the cleanliness of the photographic substrate frequently during the exposure process.
6. There is dirt on the surface. Because the circuit board screen printing room is a clean room, so there should be a static wire at the screen printing air outlet to adsorb the air and other debris. Therefore, in order to reduce surface dirt, it is necessary to fully ensure the cleanliness of the clean room and properly implement some specific measures: such as entering the clean room, fully ensure the cleanliness of the operator, avoid irrelevant personnel through the clean room, and clean the clean room regularly.
7. The colors don't match. The reason may be that the knife number of two sides of the screen printing is very different, there is a mix of old and new ink. It is possible to use new ink that has been stirred on one side and old ink that has been sitting for a long time on the other. The solution is to try to avoid the above two situations.
8. Cracking. Due to insufficient exposure in the exposure process, small cracks appear on the board surface. The solution is to measure the exposure amount so that the comprehensive value of the energy of the exposure lamp, exposure time and other parameters can reach the exposure level of 9-11, and there will be no cracking in this range.
9. Bubbles. Printed circuit board between lines or on the side of a single line will produce bubbles after development. Main reason: Bubbles between two or more lines are mainly due to the narrow spacing between lines and high lines. In the screen printing process so that the solder can not be printed on the substrate, resulting in the existence of air or moisture between the solder and the substrate. In the process of curing and exposure, the heat expansion of the gas caused by a single line is mainly caused by the high line, when the scraper and the line contact, the line is too high, the Angle between the scraper and the line increases, resulting in the solder can not be printed to the line root. There is gas between the side of the line root and the welding resistance layer, which will produce bubbles after heating. Solution: screen printing should visually check whether the screen printing material is completely printed to the substrate and the side wall of the line, and strictly control the current when electroplating.
10. Double shadow: there are regular ink spots next to the pad on the entire printed circuit board. The reason is that when the screen printing printing board positioning is not strong and the residual ink on the screen is not timely removed on the printed board. The solution is to use the positioning pin fixed firmly, timely printing to remove the residual ink on the screen.
In the modification process, due to the serious defects of some printed boards that could not be repaired, the original solder resistance was dissolved by heating in aqueous solution of sodium hydroxide, and the rework was carried out after screen printing and exposure. If the defects of the printed board are small, such as a small copper dew point, you can use a fine brush dipped in tuned solder resistance carefully repaired.


Just upload Gerber files, BOM files and design files, and the KINGFORD team will provide a complete quotation within 24h.