
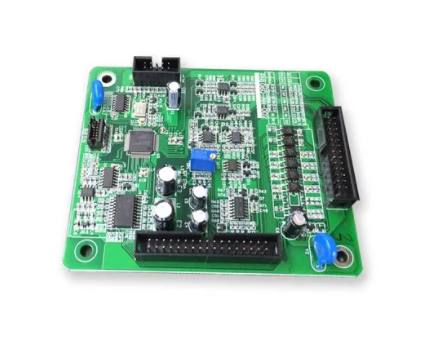
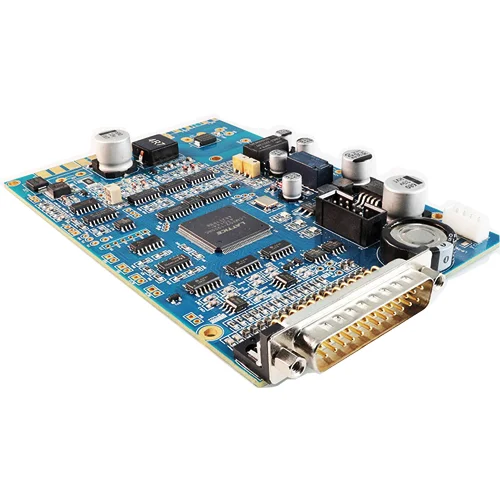
Professional PCB manufacturing and assembly
Building 6, Zone 3, Yuekang Road,Bao'an District, Shenzhen, China
+86-13410863085Mon.-Sat.08:00-20:00

SMT semi-automatic printing machine operation guidance
1、 Purpose
The operator shall be familiar with and master the adjustment and correct use of the printing machine, improve the printing quality according to the operation standard, and ensure the welding quality of the products after the furnace.
2、 Scope of application
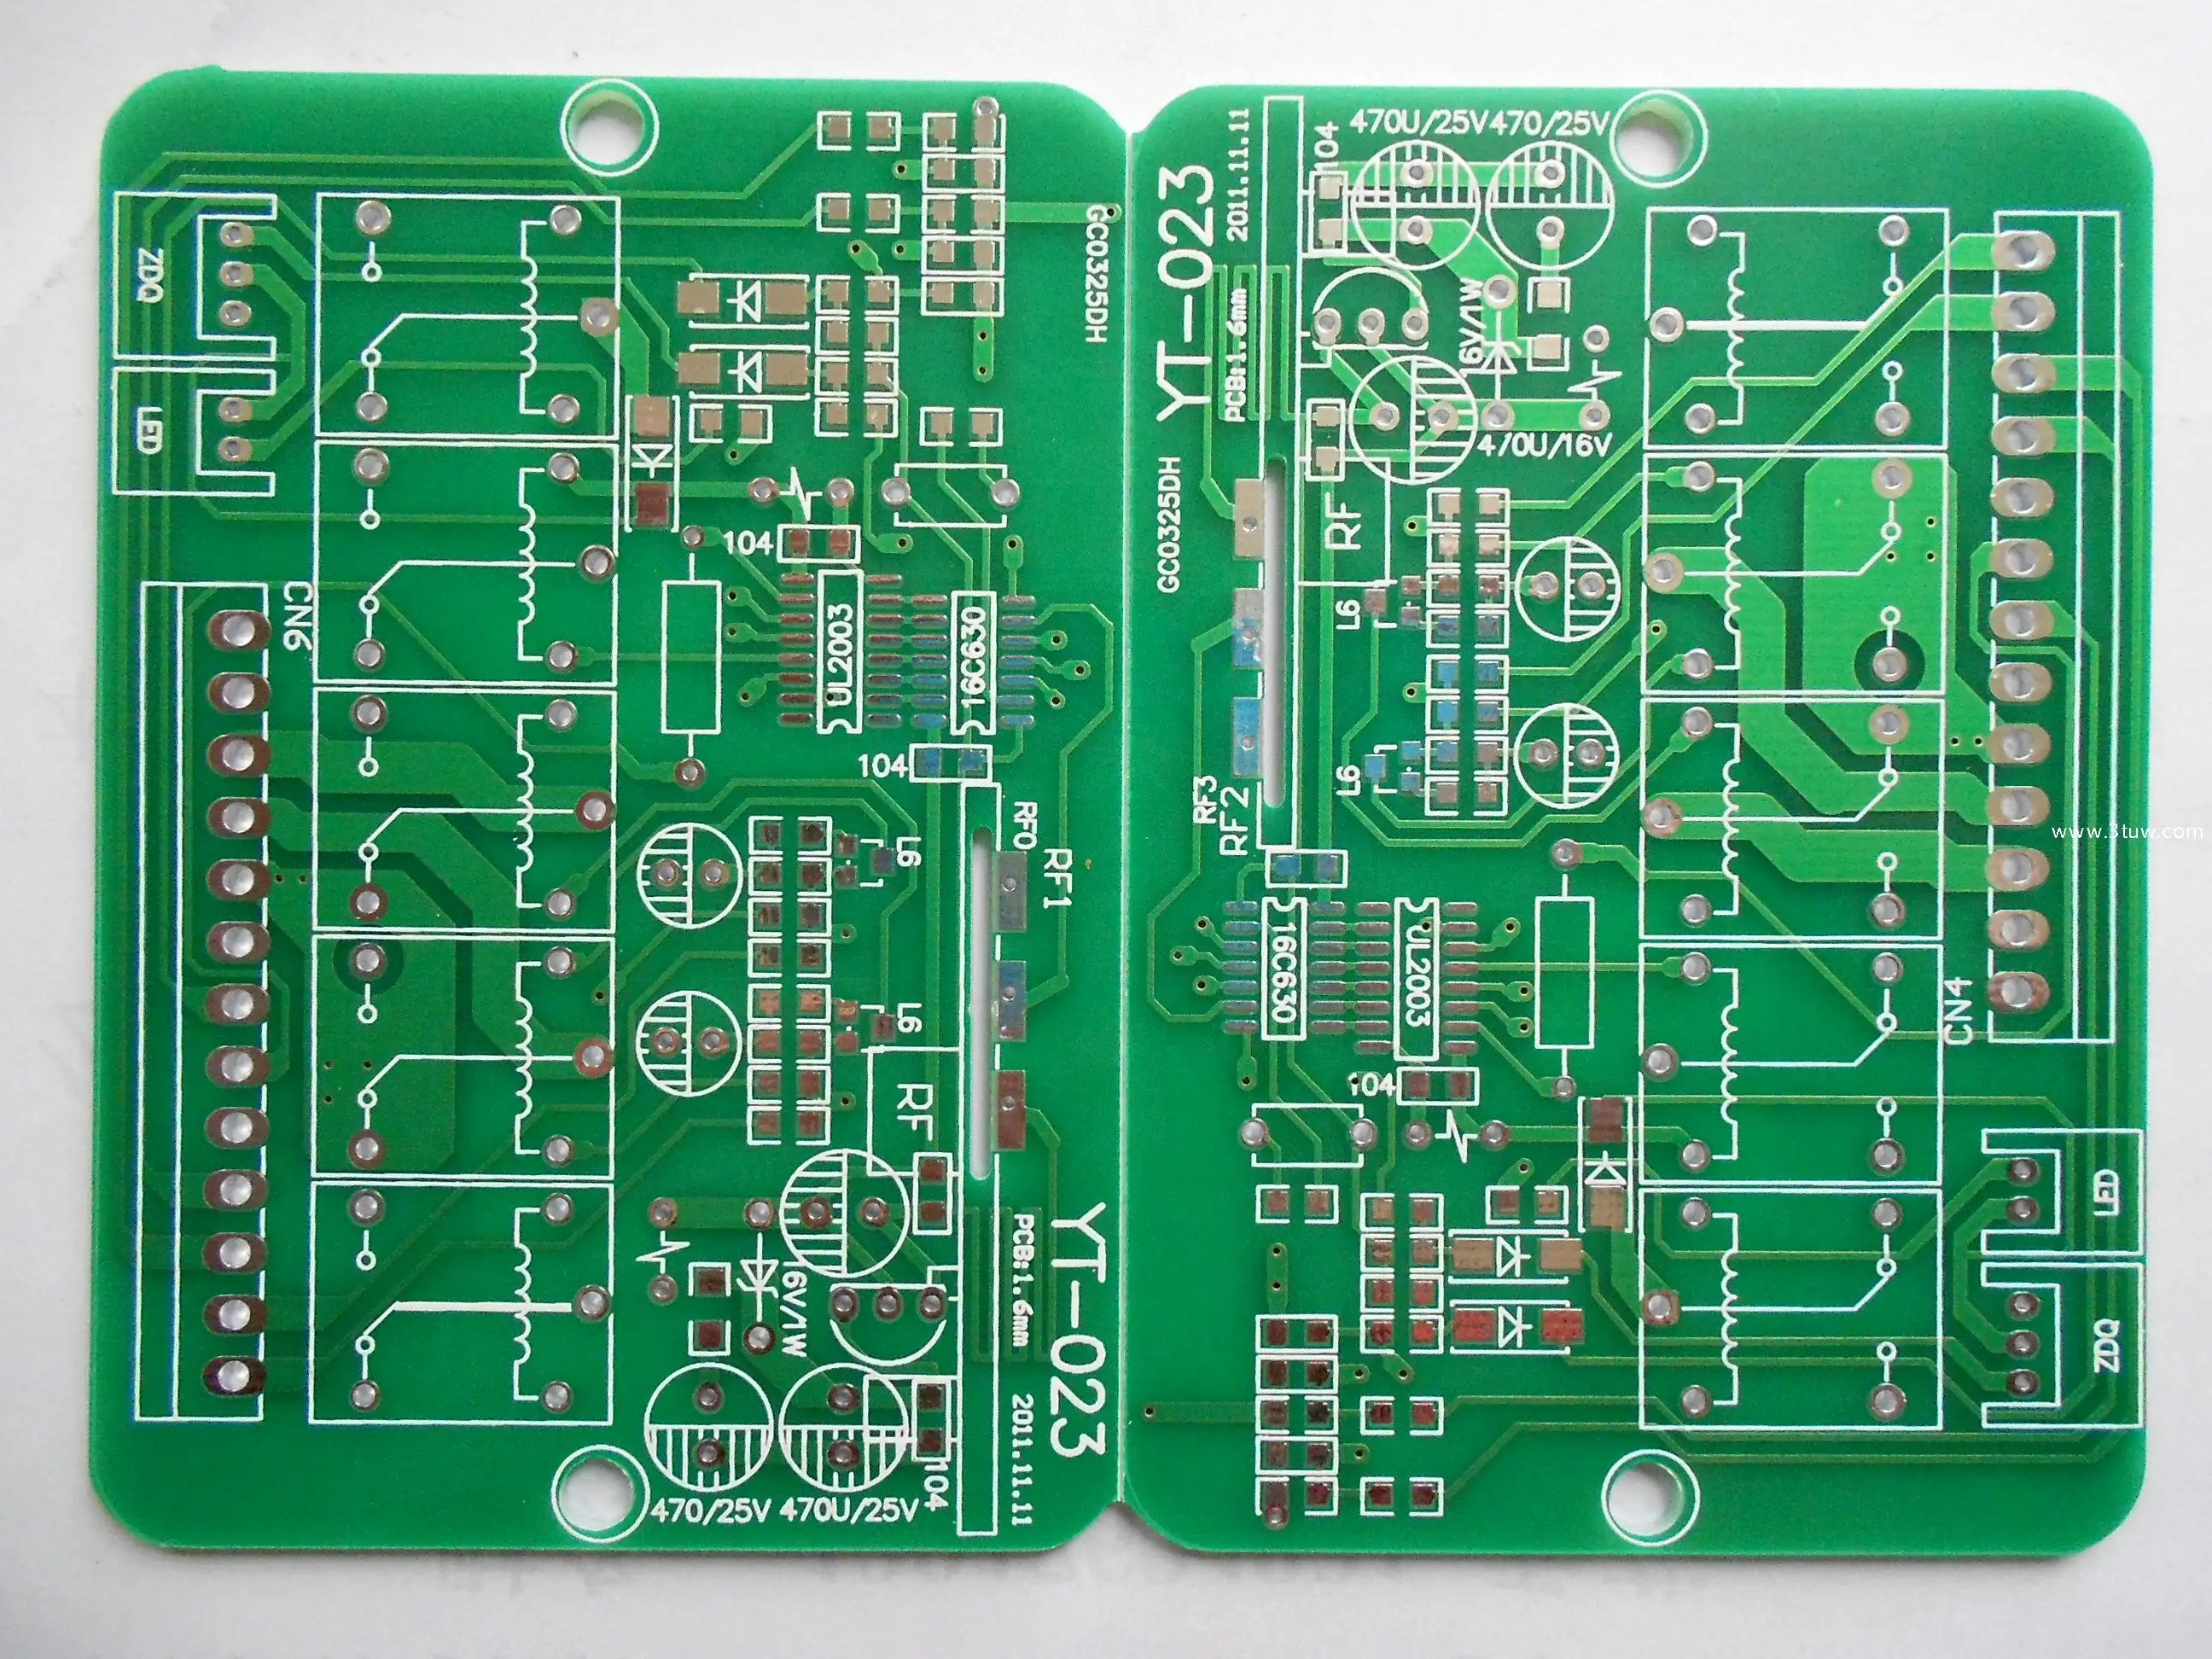
Applicable to all SMT semi-automatic printing presses of PCB Manufacturing Electronics Co., Ltd
3、 Rights and responsibilities
1 Printing personnel: responsible for the correct use, cleaning and maintenance of printing equipment;
2 Technician and supervisor: responsible for the supervision and technical guidance of inspection quality.
4、 Parameter setting and adjustment of semi-automatic printing machine
1 Turn on the power supply "①", and the semi-automatic printing machine operates under the following conditions: the power supply is AC220V/50HZ/60HZ, and the air pressure is 0.5~0.55Mpa.
2 Positioning adjustment: use positioning PIN "⑨" to locate the PCB positioning hole on the printing platform
2.1 Adjustment of printing spacing: Place the PCB steel mesh between the left and right arms "⑥" of the printing machine steel mesh frame, and lock the outer frame of the steel mesh. When the manual mode is selected on the operation screen, press the start key "④" for lifting and lowering the steel mesh, and lower the steel mesh to the drop point. At the same time, loosen the fastening handle of the steel mesh frame, and adjust the "printing room torque setting handwheel" on the top of the printing machine to adjust the spacing according to the thickness of the PCB, which is 0~0.2mm. Then lock the fastening handle of the steel grid
2.2 Coarse adjustment: align the PCB pad with the steel mesh opening, place the PCB on the combined printing platform, and make its pad and
The steel mesh opening basically corresponds to the appropriate position, and then adjust the movable screw bolt to correspond with the PCB positioning hole and lock it.
2.3 Fine adjustment: fine adjust the two screw knobs (Y-axis fine adjustment knob) "⑤" on the front of the combined printing platform and one screw knob (X-axis fine adjustment knob) "⑤" on the side so that all pads on the PCB are completely corresponding to the mesh opening, and then tighten the two fastening screws below the combined printing platform.
3 Setting of printing stroke: After the above adjustment, adjust the left and right limit positions "⑩" on the printing machine respectively according to the size of the steel mesh and PCB board to determine the printing stroke.
5、 Scraper installation
1 Scraper installation: "⑦" Remove the screw fastening the scraper on the scraper holder, and align the center hole of the stainless steel blade with the center hole of the tool holder with the locking screw.
2 Adjustment of scraper high and low pressure: "⑧" Adjust the scraper height and scraper pressure of scraper holder, adjust the screw up and down to make the knife blade horizontal. Generally, it is required that there is no residual solder paste in the steel mesh opening area during printing. If the printing pressure is too large, it is easy to cause the steel mesh to be flexed and printed poorly, reducing the service life of the steel mesh.
3 Adjustment of scraper angle: It is advisable to keep the scraper angle between 45 ° and 60 °. On the scraper frame, a single screw is used to control the inside of the scraper. At the same time, it is not necessary to adjust the screw and to determine the scraper angle frequently.
4 Adjust the printing speed of the scraper "③". The printing speed of the scraper is generally set at 7.5~11.5mm/sec, which can be adjusted according to the printing effect. See the operating instructions of the semi-automatic printing machine for the speed adjustment
6、 Printing
1. The first piece printed shall be checked for deviation, less solder paste, more solder paste and missing printing. If there is deviation, it shall be adjusted according to 4.2.2 and 4.2.3. For different formwork thicknesses, there are two cases of missed printing: one is that solder paste blocks the mesh opening, just blow it from bottom to top with a steam gun at a distance of 10cm from the mesh plate; the other is that the steel mesh is missed, and the steel mesh is replaced or the technician takes process measures to deal with it.
2 Adjust and check that everything is normal before printing. Wipe the reverse side of the steel mesh with dust-free paper after printing 3-5 pcs. to prevent solder paste from overflowing or blocking, which may cause defective products.
3 After printing, the remaining solder paste shall be processed according to the process of "solder paste storage and use". The steel mesh and scraper shall be thoroughly cleaned with polishing and plate washing water, and the 7S at the work site shall be well done.
7、 References:
1 Solder paste storage and use, semi-automatic printing machine operation instructions and equipment and facilities maintenance system.
How to select SMT processing plant?
Oct 31,2022

Just upload Gerber files, BOM files and design files, and the KINGFORD team will provide a complete quotation within 24h.