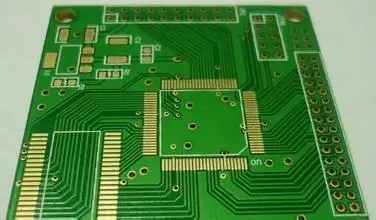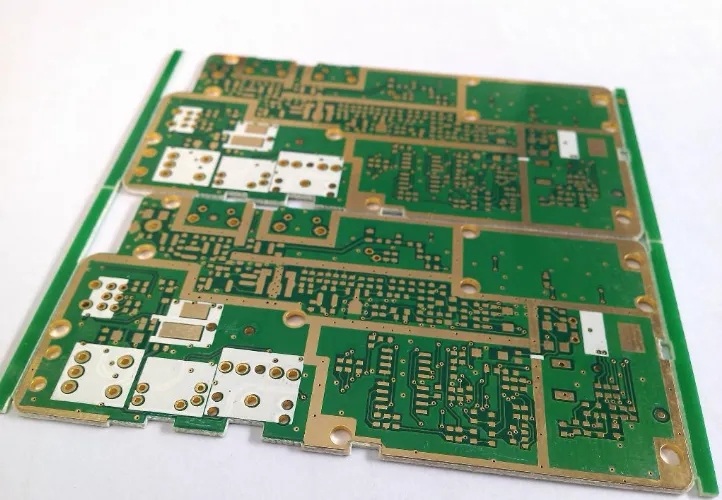
PCB Process SMT Product Reliability Inspection Process
Inspection purpose: to verify the reliability of SMT products and solder joint strength.
Inspection method and process:
1. Visual inspection of solder joints
(1) Tools: X-Ray, 3-D microscope
(2) Mainly check, X-Ray mainly checks the shape of Solder Balls Solder joint, short circuit, displacement, Void size of BGA, LGA, QFN and other parts; The 3-D microscope mainly checks the solder joint appearance, tin eating angle, etc. of the leaking pin parts, as well as the tin eating appearance, tin cracks, dirt, etc. of the solder balls around the BGA parts
(3) Inspection frequency: X-Ray: for BGA and LGA products, every 1K, inspect that 1pannel has been imported into the 3-D microscope; for BGA and LGA first article, inspect the appearance of 5 particles at the four sides and the center. Used for analysis of defective products

(4) Inspection standard: acceptance standard of Void size
IPC610D specification:
1. Acceptable bubble acceptance standard: bubble volume ≤ 25% of solder ball volume:
2. Bubble volume ≥ 25% of solder ball volume is unacceptable
Judgment criteria for displacement of Solder Balls:
1: Solder ball offset PAD ≤ 25% is acceptable
2: Solder ball offset PAD ≥ 25% is unacceptable
Judgment standard for short circuit of Solder Balls: all short circuit and tin connection are unacceptable
2. Welding spot strength inspection
(1) Tools used: push-pull machine and clamp
(2) Main inspection: resistance/capacitance/inductance/SOP, QFP and other original parts; inspection frequency: new products/new original parts/new solder pastes; During defect analysis
(3) Inspection standard: at present, there is no inspection standard and experience value in the industry, unless the customer requests separately.
3. Dye test
(1) Tools: dye, vacuum pump, oven, 3-D microscope
(2) Mainly check whether the solder balls of BGA parts are in good condition and whether there are tin cracks
(3) Inspection frequency: inspect new products/new originals/new solder pastes when they are imported; During defect analysis
(4) Inspection standard:
Cracks (color display) are not allowed in PCBA without any reliability test.
After the reliability test, PCBA Cracks at the solder joint end level ≤ 25% are acceptable.
4. Slice inspection
(1) Tools used: grinder, sealant material, sandpaper, polishing powder
(2) Main inspection: observe the metallographic structure, IMC forming and crystallization of the solder joint in Cross section.
(3) Inspection frequency: inspect new products/new originals/new solder pastes when they are imported; During defect analysis
(4) Inspection standard:
Slice Solder Ball, QFP, SOP sample inspection:
1: Solder ball offset PAD ≤ 25% is acceptable
2: Solder ball offset PAD ≥ 25% is unacceptable
3: Short circuit and empty welding at the welding point end shall be rejected.
4: Crack not allowed
5. Microstructure and element analysis
(1) Tools used: SEM&EDX
(2) Main inspection: microstructure of solder joint, IMC thickness measurement, and surface element structure analysis
(3) Inspection frequency: new products/new originals/new solder pastes are inspected when they are imported, and defective products are analyzed
(4) Inspection standard: Solder Joint IMC Thickness inspection:
PCB PAD end: 2-5um, Component Substrate 1-3um
EDX determined that: generally, the composition of Solder Ball and elements is: Sn/Ag/Cu 96.5%/3.0/0.5, where the atomic ratio of C and O is 10%, which is normal. The content of element P in IMC layer is about 9-11%, which is normal.
The above is about the reliability inspection process of SMT products explained by PCB manufacturers and PCB designers.


