
Professional PCB manufacturing and assembly
Building 6, Zone 3, Yuekang Road,Bao'an District, Shenzhen, China
+86-13410863085Mon.-Sat.08:00-20:00

PCB layout, component placement order and wiring method
For electronic products, PCB design is changed from power schematic diagram to whether design process is required for specific products The rationality of its design is closely related to product production and product quality It is said that many people who are just engaged in electronic design have little experience in this field Although I have learned PCB design software, such problems often exist in PCB design The engineer recommended by the editor has been engaged in PCB design for many years, and will share some experience in PCB design with you, hoping to play a role in attracting creativity A few years ago, the engineer PCB design software recommended by the editor was TANGO. Now it uses PROTEL 2.7 for WINDOWS
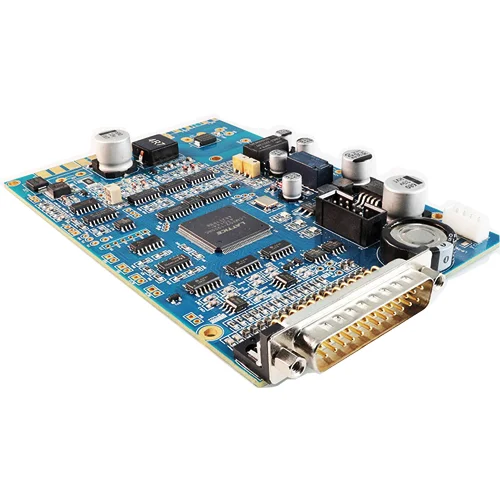
PCB board layout
The usual sequence for placing components on PCB board:
1. Place the components in fixed positions closely matching the structure, such as power sockets, indicator lights, switches, connectors, etc. After placing these components, use the locking function of the software to lock them, so that no error will occur in the future movement;
2. Place special components and large components on the circuit, such as heating elements, transformers, integrated circuits, etc.;
3. Place small equipment.
Distance between component and PCB board edge
If possible, all components should be placed within 3mm from the PCB edge or at least greater than the PCB thickness. This is because the assembly line plug-in and wave soldering in mass production must be provided for the use of the guide groove, and also to prevent edge defects caused by shape processing. If there are too many components on the PCB, if it is necessary to exceed the 3mm range, 3mm auxiliary edges can be added to the edge of the PCB, and the V-shaped groove on the auxiliary edge can be opened. Just break it.
High and low voltage isolation
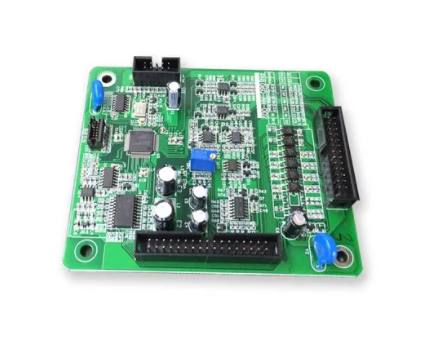
Circuit board

Many PCB boards have both high voltage and low voltage circuits. High voltage circuit components and low voltage components shall be placed separately. The isolation distance is related to the withstand voltage to be borne. Generally, at 2000kV, the distance between PCB board and PCB board is 2mm., If it is required to withstand 3000V voltage withstand test, the distance between high and low voltage lines shall be greater than 3.5mm. In many cases, it is still on the PCB to avoid crawling. Slotting between high and low pressure.
Wiring arrangement between PCB board components:
(1) Cross circuits are not allowed in printed circuits. For lines that may cross, you can use the "drilling" and "winding" methods to solve. That is to say, let a wire "drill" through the gap under the pins of other resistors, capacitors and 3-poles, or "wind" the gap that may be passed through from one end of the wire. In special cases, how complex the circuit is, it is also necessary to simplify the design. Wire connection is allowed to solve the problem of cross circuit.
(2) Resistors, diodes, tubular capacitors and other components can be installed by "vertical" and "horizontal" installation methods. Vertical type refers to the installation and welding of components perpendicular to the circuit board, which has the advantage of space saving. Horizontal type refers to the installation and welding of components parallel to and close to the circuit board. The advantage is that the mechanical strength of component installation is better. For these two different mounting components, the component hole spacing on the printed circuit board is different.
(3) The grounding point of the same level circuit shall be as close as possible, and the power filter capacitor of the level circuit shall also be connected to the grounding point of the level. In particular, the ground points of the base and emitter of this level transistor should not be too far apart, otherwise the copper foil between the two ground points will be too long, which will lead to interference and self excitation. This "one point grounding method" circuit will work better. Stable and not easily self-excited.
(4) The main grounding wires must be arranged in the order from weak current to strong current in strict accordance with the principles of high frequency, medium frequency and low frequency. Do not toss and turn at will. Comply with this requirement. In particular, the grounding wire layout of frequency converter, regeneration head and frequency converter head is more strict. If it is not correct, it will self energize and make it inoperable. High frequency circuits (such as FM heads) usually use large area grounding wires to ensure good shielding effect.
(5) Strong current leads (common grounding, power amplifier power leads, etc.) should be as wide as possible to reduce wiring resistance and voltage drop, and reduce self excitation caused by parasitic coupling.
(6) The PCB track should be as short as possible for cables with high impedance, and the track with low impedance can be longer, because the track with high impedance is easy to emit whistlers and absorb signals, leading to circuit instability Power line, ground wire, base track without reverberation component, emitter lead, etc Are they all low impedance trajectories The base track of the transmitter follower and the grounding track of the two radio channels must be separated, each forming a path, It will be merged again until the end of the function. If the two ground wires are connected back and forth, it is easy to cause crosstalk and reduce separation
Functions of PADS PCB product creation platform
Nov 21,2022

Just upload Gerber files, BOM files and design files, and the KINGFORD team will provide a complete quotation within 24h.