
Professional PCB manufacturing and assembly
Building 6, Zone 3, Yuekang Road,Bao'an District, Shenzhen, China
+86-13410863085Mon.-Sat.08:00-20:00


Although today's EDA tools are very powerful, but with the PCB size requirements are becoming smaller and larger, the device density is becoming higher and higher, PCB design is becoming more and more difficult. How to achieve high PCB penetration rate and shorten the design time?
Nowadays PCB design time is getting shorter, smaller and smaller board space, higher and higher device density, extremely demanding layout rules and large size components make the designer's job more difficult. In order to solve the design difficulties, speed up the product market, now many manufacturers tend to use special EDA tools to realize the design of PCB. But dedicated EDA tools don't produce ideal results, don't achieve 100% penetration, are messy, and often take a lot of time to complete the rest of the work.
Now the market popular EDA tools a lot of software, but in addition to the use of terminology and function key location are not the same, how to use these tools to better achieve the design of PCB? Careful analysis of the design and careful setup of the tools and software before wiring will make the design more in line with the requirements. The following is the general design process and steps.
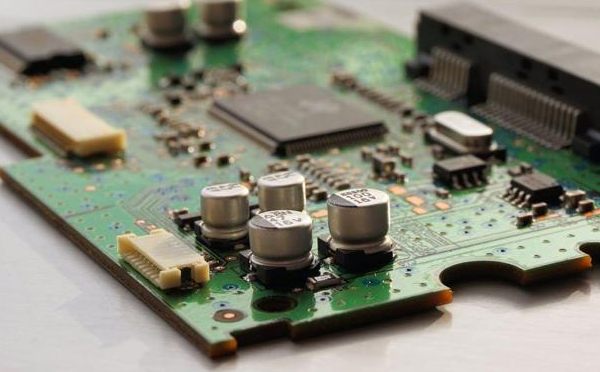
1 Determine the number of PCB layers
The size of the circuit board and the number of wiring layers need to be determined at the beginning of the design. If the design calls for the use of high-density spherical grid array (BGA) components, the minimum number of layers required to route these devices must be considered. The number of wiring layers and stack-up mode will directly affect the wiring and impedance of printed lines. The size of the board helps determine the pattern of layering and the width of the printed line to achieve the desired design effect.
For years, it was thought that the fewer layers a board had, the cheaper it would be, but there were many other factors that affected the cost of making a board. In recent years, the cost differential between multilayers board has decreased considerably. At the beginning of the design, it is better to use more circuit layers and make the coated copper evenly distributed, so as to avoid being forced to add new layers when a small number of signals are found to be inconsistent with the defined rules and space requirements near the end of the design. Careful planning before design will reduce a lot of trouble in wiring.
2 Design rules and restrictions
The automatic wiring tool itself does not know what to do. To complete wiring tasks, wiring tools need to work within the correct rules and constraints. Different signal lines have different wiring requirements, to all the special requirements of the signal line classification, different design classification is not the same. Each signal class should have a priority, and the higher the priority, the stricter the rules. The rules involve the width of printed lines, the maximum number of holes through, parallelism, the interaction between signal lines, and the limits of layers. These rules have a great impact on the performance of wiring tools. Careful consideration of design requirements is an important step in successful wiring.

3 Component layout
To optimize the assembly process, design for manufacturability (DFM) rules impose constraints on component layout. If the assembly department allows the components to move, the circuit can be optimized for automatic wiring. The rules and constraints you define affect the layout design.
The routing path and hole area should be considered in the layout. These paths and areas are obvious to the designer, but the automatic wiring tool takes into account only one signal at a time. By setting routing constraints and setting layers of deployable signal lines, the wiring tool can perform the wiring as envisioned by the designer.
4 fan out design
In the fan-out design phase, to enable component pins to be connected by the automatic wiring tool, each pin of the surface-mount device should have at least one through-hole so that the PCB circuit board can be internally connected, in-line tested (ICT), and reprocessed when additional connections are required.
In order to maximize the efficiency of the automatic wiring tool, it is necessary to use the largest hole size and printed lines possible, with an interval of 50mil being ideal. Use the hole type that maximizes the number of routing paths. The problem of online circuit testing should be considered in the design of fan - out.
After careful consideration and prediction, the PCB design of online circuit testing can be carried out at the initial stage of design and implemented later in the production process. The type of through-hole fan-out can be determined according to the wiring path and online circuit testing. The power supply and grounding will also affect the wiring and fan-out design. In order to reduce the inductive reactance generated by the connection line of the filter capacitor, the pass hole should be as close as possible to the pin of the surface-mounted device. If necessary, manual wiring can be used, which may affect the original thought of the wiring path, or even cause you to reconsider which kind of pass hole to use. Therefore, the relationship between the pass hole and the pin inductive reactance must be considered and the priority of the pass hole specification must be set.
Manual wiring and critical signal processing
Feb 01,2023


Just upload Gerber files, BOM files and design files, and the KINGFORD team will provide a complete quotation within 24h.