
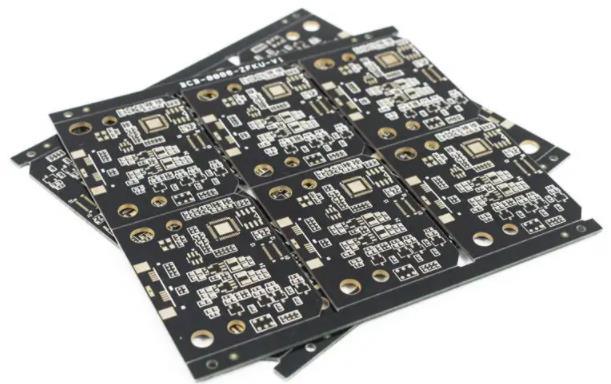
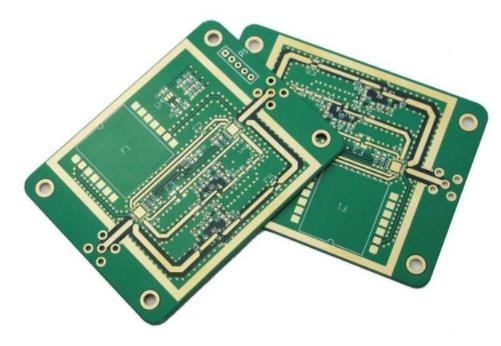
Professional PCB manufacturing and assembly
Building 6, Zone 3, Yuekang Road,Bao'an District, Shenzhen, China
+86-13410863085Mon.-Sat.08:00-20:00

Effective PCB routing width and spacing in PCB design
One of the advantages of becoming a PCB designer is that you can route in a PCB layout. Long before the birth of Tetris or Candy Brush, routing has brought designers a unique problem. The method is to unlock the mesh connection nesting of mice to create a clean routing circuit board. Wiring on the circuit board may be a very meaningful achievement, but with the increase of the scale and complexity of the design, it will also become very complex.
In today's PCB layout, each network may have different and unique routing characteristics, which must be applied to make it run as designed. In addition to specific areas or layers that can be routed, different PCB routing width and spacing rules must be managed.
These are some of the challenges faced by today's designers when routing circuit boards, as well as some methods that can be used to successfully route according to the required rules and constraints.
Challenges brought by today's PCB wiring technology
Once, wiring on the printed circuit board is a fairly simple process. Your routing has been assigned the default width and spacing, but the width of the power and ground wire connections connecting the vias must be widened. Any other routing width that may be required is minimal and can be easily handled by manually changing the routing width during routing. However, with the development of circuit board technology, the requirements for line width and spacing become more complex.
Now, on any given board, you may see some or all of the following:
Controlled impedance wiring with specified width and spacing. Sensitive high-speed cabling needs to be isolated from other cabling with large spacing. Analog routes may have different default width spacing requirements. Power and ground connections require wider routing. Depending on the circuit, the power supply may have multiple wiring widths. Additional space shall be reserved between analog and digital routes to isolate them from each other.
In addition to these routing width and spacing requirements based on circuit functions, there may be different width and spacing requirements, depending on their location. Some of them are as follows:
The connector may require the network to use a smaller routing width to meander between pins with very small spacing. Fine pitch components such as quad flatpacks (QFPs) or small outline packages (SOPs) may need to reduce the routing width for escape wiring. The ball grid array (BGA) may also need to reduce the routing width to wrap the encapsulated pins and vias.
Another part of PCB wiring is via for transition between layers. When the circuit board was manually arranged with adhesive tape and handcart, the designer only needs to pick up the Exacto knife and trim the via pad to extrude the wiring. However, in today's PCB design CAD system, a more accurate method is needed. Designers will route using arrays of different through-hole types and sizes.
Through holes are divided into three types:
Through hole, blind and buried hole, micro
Through hole is a standard through hole used in circuit board design. They are mechanically drilled and run through the entire circuit board. Blind holes or embedded holes can also be drilled mechanically, but they will only partially pass through the circuit board, and may also start and stop on the internal layer. These through holes require more manufacturing steps because the layers of the plates must be drilled and aligned before they are laminated together. Micro vias are created with lasers, which allows them to be much smaller than mechanical drilling, and they typically span only two layers of the board. They are ideal for through hole applications in pads and high-density interconnect (HDI) designs that require smaller routing and vias.
These are some of the challenges that designers face when wiring complex printed circuit boards. Next, we will discuss some specific examples of width and spacing requirements in more detail.
The width and spacing of PCB routing will affect the circuit board in many ways. When deciding what width and spacing values to use, the following four aspects need to be considered:
Electrical performance and signal integrity
Most digital wiring on the circuit board will use the default value as the routing width and spacing, but some networks require different sizes. For example, the controlled impedance network will need to calculate its routing width according to the configuration of the layer stack. Sensitive high-speed routing may require large spacing values to prevent crosstalk and other signal integrity issues.
Depending on the purpose of the circuit, analog wiring may also require a unique routing width and spacing. In some cases, the default routing width can be reduced in narrow and narrow areas, but care must be taken not to extend it to the entire circuit board. If the wiring is so thin that it is damaged during PCB manufacturing, the signal integrity of the entire circuit board may be damaged.
Power and ground wiring
The wiring used for wiring power supply and ground needs to be wider to conduct greater current. If the traces are too fine, they may become hot or even burn through. In order to dissipate heat, the power wiring in the inner layer of the circuit board also needs to be wider than the power wiring in the outer layer, because exposure to the air will provide more cooling. For the wiring used in the power circuit, it is important to make them as short and wide as possible to handle the current and reduce the inductance and noise in the circuit. It is important to increase the spacing of wires carrying large current to prevent arcing between power sources.
Circuit board manufacturing
The wider the trace, the easier manufacturing. The manufacturing etching process will have a greater impact on longer and isolated traces, so it is best to make them wider where possible. A 20 mil run will have a greater metal loss tolerance than a 3 mil run. The trace width also depends on the weight of the copper used to construct the circuit board layer. If this layer of the plate requires a greater copper weight due to higher current requirements, the manufacturer may not be able to etch a finer routing width on it.
Circuit board assembly
Too wide wiring will affect the difficulty of component welding during PCB assembly. The wide wiring used for the power supply and grounding grid may also act as a radiator, resulting in uneven heating and poor solder joints. A small two pin part connecting a large area of metal on one pad and a thinner wire on the other pad may be unbalanced, so that the assembly will eventually be pulled up during reflow soldering. This phenomenon is called "tombstone bombing" and will force the circuit board to be reworked manually for correction. A large amount of metal under BGA will also cause problems during welding, but these errors are more difficult to find due to the size of BGA on the plate.
If the correct routing width and spacing are not maintained, all potential problems may occur, so PCB layout engineers need all the help they can get. Fortunately, the design tool includes utilities that can help you solve this problem.
Design rules and constraints are set for the power network routing width.
Design rules and constraints
As we can see, today's PCB layout needs to manage many different routing widths and spacing. These will include width and spacing assignments for individual networks, network groups (buses), and power and ground networks. In addition, the correct vias need to be used in each assignment, and in some cases, there may be more than one set of values that must be assigned to a single network or group. PCB design tools handle this task by using the design rules and constraint management system.
Since the birth of PCB design CAD tools, the available control quantities were limited, so the design rules and constraints have made considerable progress. Now, with the constraint management system shown above, you can use the spreadsheet style interface to set various rules and constraints. As you can see, the network is assigned different routing widths. If you want to scroll to the right in this menu, you can also find the setting of trace spacing through assignment, etc.
This constraint management system allows designers to fully control the tracking routing rules designed by them. In addition, these systems will control other design values, such as signal timing, component spacing, and manufacturability settings for solder paste and screen printing.
Today's CAD tools not only provide rule and constraint management, but also provide more functions. However; They have a wide range of routing tools, which can also help designers improve efficiency.
Make all the functions of your PCB design tool work
Although there will be many nets in PCB layout, and these nets need different wiring methods, you no longer need to manually route all these nets. The design tool will have multiple tracking routing functions, which can help. For example, take the routing function in Cadence Allegro as an example, which provides designers with a large number of routing aids and tools, such as:
Visual cues to show you the best channel when routing manually. The Heads Up Display tracks your routing constraints as you route. Push, push, hug and slide options help you route manually. Scribble routing function enables you to sketch the route manually, and then let the automatic engine to route the route heavily. The Contour Routing feature helps you create bend tracks at any angle. The timing function enables you to add and edit tracking adjustment segments in the route. The auto routing engine can add a single trace by fanout, or completely route the entire circuit board. Automatic interactive routing is used to manually organize and manipulate network bundling for the final determination of automatic routers. Route cleaning functions, such as adding light traces for cleaning or adding teardrops at the junction of pads and traces to enhance controllability. The PCB processing factory explained and analyzed the effective PCB routing width and spacing of PCB design.
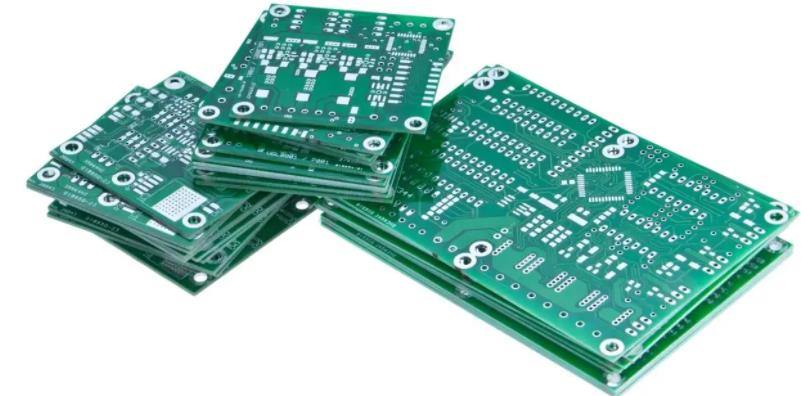


Just upload Gerber files, BOM files and design files, and the KINGFORD team will provide a complete quotation within 24h.