Explanation on the steps of installing PCB components and flatting IC
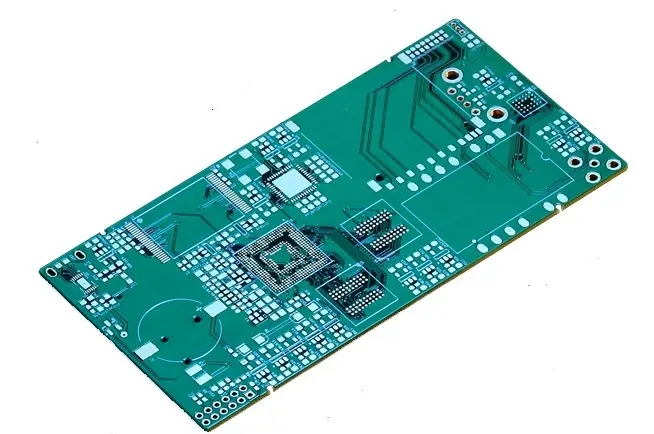
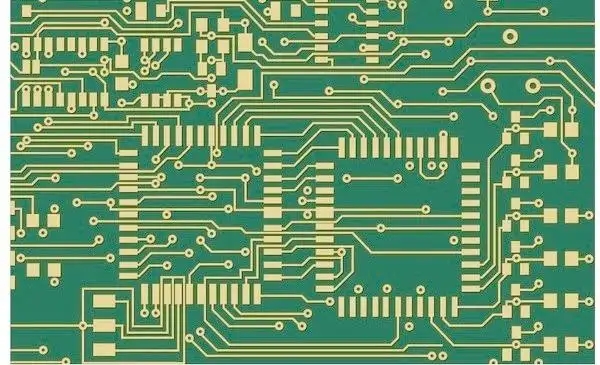
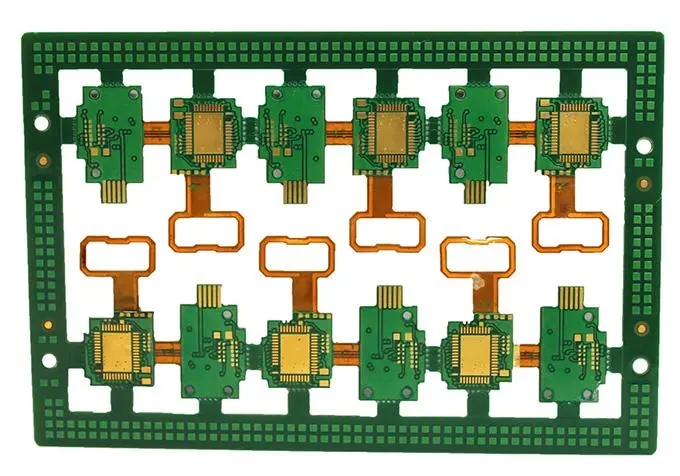
The circuit board manufacturer, circuit board designer and PCBA manufacturer explain the installation of circuit board components and the steps of flat IC installation
Observe whether the IC pin to be installed is flat. If there is a solder short circuit in the IC pin, use a tin absorbing wire to deal with it; If the IC pin is uneven, place it on a flat plate and back press it with flat tweezers; If the IC pin is out of alignment, the skewed part can be corrected with a scalpel.
2 Put an appropriate amount of flux on the bonding pad. If too much heat is applied, the IC will float away. If too little heat is applied, it will not work. The surrounding heat resistant elements shall be covered for protection.
3 Place the flat IC on the bonding pad in the original direction, align the IC pin with the PCB pin position, and observe vertically and downward when aligning. The four pins should be aligned. Visually, the four pins have the same length, and the pins are straight without skew. The IC can be stuck by the adhesive phenomenon of rosin when it is heated.
4 Preheat and heat the IC with a hot air gun. Pay attention that the hot air gun cannot stop moving during the whole process (if it stops moving, it will cause local temperature rise to be too high and damage). Watch the IC while heating. If the IC moves again, gently adjust it with tweezers without stopping heating. If there is no displacement, as long as the soldering tin under the IC pin is melted, it should be found at the first time (if the soldering tin is melted, the IC will be found slightly sinking, rosin will have light smoke, and the soldering tin will be shiny. You can also use tweezers to gently touch the small components next to the IC. If the small components next to the IC are active, it means that the soldering tin under the IC pin is also about to melt.) And immediately stop heating. Because the temperature set by the hot air gun is relatively high, the temperature on the IC and PCB board continues to increase. If it cannot be detected early, excessive temperature rise will damage the IC or PCB board. Therefore, the heating time must not be too long.
5 After the PCB is cooled, clean and dry the welding points with Tianna water (or plate washing water). Check for faulty soldering and short circuits.
6 In case of faulty soldering, solder the IC one by one with a soldering iron or remove the IC with a hot-air gun for re soldering; If there is a short circuit, wipe the soldering head with a damp heat-resistant sponge, dip a little rosin and gently scratch along the pin at the short circuit to take away the solder at the short circuit. Or use tin absorbing wires: take out four tin absorbing wires with tweezers and dip them in a small amount of rosin, place them at the short circuit, and gently press them on the tin absorbing wires with a soldering iron. The solder at the short circuit will melt and stick to the tin absorbing wires to clear the short circuit.
In addition, you can also use an electric soldering iron to weld the IC, align the IC with the bonding pad, dip the soldering iron in rosin, and gently scratch along the edge of the IC pin; If the pitch between IC pins is large, rosin can also be added, and soldering can be carried out by rolling the soldering iron with solder ball through all pins. PCB manufacturers, PCB designers and PCBA manufacturers will explain the installation of PCB components and the steps of installing flat ICs.


