
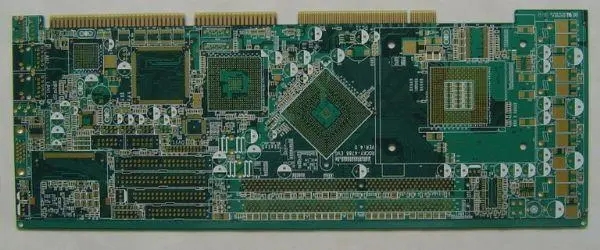
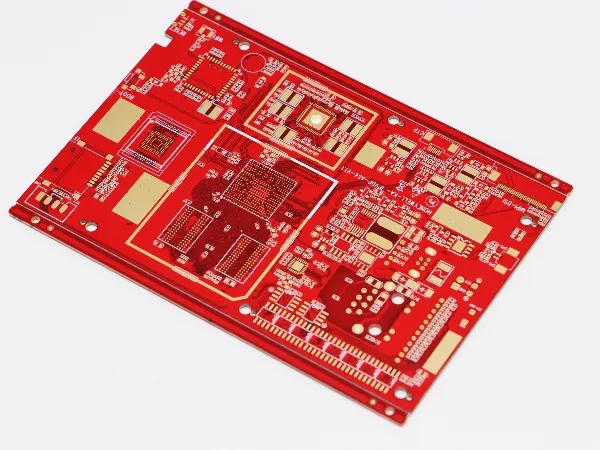
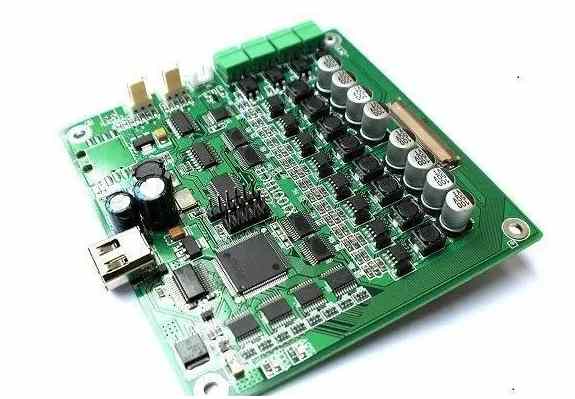
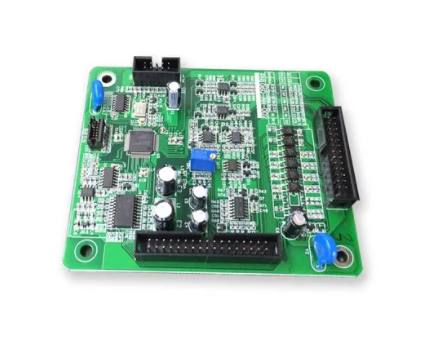
Professional PCB manufacturing and assembly
Building 6, Zone 3, Yuekang Road,Bao'an District, Shenzhen, China
+86-13410863085Mon.-Sat.08:00-20:00


Circuit board manufacturer explains how to set the parameters of the chip mounter
1、 To understand the common signs of the placement machine, we all know that many machines and equipment have specific signs to learn before use, and the placement machine is no exception. Then, we need to fully understand the meaning and role of these signs at this time, so as to play a warning role. Only after fully understanding the mounter can we use the mounter more safely. At the same time, check whether the air pressure of the machine reaches 5KG; 2、 Turn on the power supply 1. Turn on the air conditioner switch and set the temperature at 20 ℃ - 25 ℃; 2. Turn on the main power supply of the machine and place the switch at "ON"; 3、 Check the environment around the machine 1. Check D
1、 To understand the common signs of the placement machine
We all know that many machines and equipment have specific signs that we need to learn before use, and the mounter is no exception. Then, we need to fully understand the meaning and role of these signs at this time, so as to play a warning role. Only after fully understanding the mounter can we use the mounter more safely. At the same time, check whether the air pressure of the machine reaches 5KG;
2、 Turn on the power
1. Turn on the air conditioner switch and set the temperature at 20 ℃ - 25 ℃;
2. Turn on the main power supply of the machine and place the switch at "ON";
3、 Check the environment around the machine
1. Check whether there are obstacles around D-axis and remove them in time;
2. During feeding, pay attention to whether the feeder cover is fastened to prevent the feeder cover from cocking up
4、 Start up
1. Turn on the power supply of the mounter, and set the switch to "ON";
2. Turn on the power supply of the screen display device (green switch). At this time, the machine requires ZERO SETTTNG,
Press the START key once, and the X, Y, Q and D axes of the machine will return to their original positions
It is in the zero return state, waiting for the start of production;
5、 Set the working state of the machine
1. Data preparation procedure
2. Touch PROGRAM and the corresponding F4 button, and the screen will display PROGRAM in the menu CHANGE, QTYSET, QTYCLR, SKIP, DEVICE, RETURN;
3. Press the CHANGE and screen corresponding to the F1 key to display the stored program in the machine, and select the production program through the number keys;
4. Select the production mode. After selecting the production program, press RETURN, the corresponding F6 key until the main menu of the screen. At this time, press the F1 key corresponding to AUTO, and the screen displays the AUTO submenu SO. NO RETURN START。 PB Press the F5 key corresponding to MODE until "MODE;" is displayed at the bottom left of the screen Corresponding PROD;
6、 Check whether NOZZLE (suction nozzle) is defective
Each time the nozzle is cleaned, check whether the CENTER and BRIGHT of the nozzle are OK. Press the F5 key corresponding to SET in the main menu, and the submenu STATUS, MANUAL, PROGRAM, PROPER, SERVO, PSTION, and RETURN of SET will appear. Press the F3 key corresponding to PROPER, and CAMERA, SCALE, CENTER, BRIGHT, and RETURV will appear. Press the F4 key corresponding to CENTER, and the machine prompts PUSH and START. Press the START key, and the machine can test the NOZZLE center. Similarly, the BRIGHT of NOZZLE can be measured.
7、 Production process
1. Set the feeder from ensuring that the throwing rate of the machine is minimized, and set SET/STATUS/RECOVERY to E STOP, produce in this state, observe the operation of the feeder, and replace and repair the feeder as needed. After the feeder is found to be running normally, set RECOVERY to AUTO.
2. Silk screen solder paste;
1) Adjust the screen printing mold to ensure that the solder paste printed is free of defects;
2) Check the PCB for defects. For deformed PCB without MARK points or irregular MARK points, solder paste cannot be printed (returned to the warehouse);
3) Check whether the solder paste has continuous soldering, poor printing, or other bad conditions. Wipe the PCB board, clean it with alcohol, dry it with an air gun, and then bake the paste again
3. Charging
1) Back the TABLE used on plate D to both sides during feeding
2) Carefully remove the feeder to be loaded from the D-axis and feed as required
3) After feeding, place the feeder flat and tight on the D-axis without tilting
4) One material shall be exposed on the feeder each time feeding, so as to facilitate suction by the suction nozzle. Check the D-DATA, and there shall be no feeding error
5) Check whether the feeder is loose or abnormal. If it is defective, repair and maintain the feeder immediately
6) In case of TAPY feeder alarm, carefully check whether the feeder cover is tilted
Place the PCB board on the machine transport track in the required direction, and the number of PCB boards on the machine track is required to be no more than 5 (including
X Y TABLE)
5. Outboard
Take the pasted PCB board out of the mounter guide rail in time and be induced by the inductor
6. Planking
QC staff shall correct all defects (such as displacement,
Soldering off, component errors and omissions, etc.), put the corrected PCB into the plug-in box.
7. Note: In case of the following abnormalities, report to the technician immediately for correction.
1. The element is displaced in whole or in part
2. Missing and skewed components pasted on the mounter
3. Check whether the orientation of the directional SMD components is correct, such as the triode, integrated circuit, BGA, transformer and senior management, etc
8、 Shutdown
1. Press the ENGERNCY key, and then press the OFF key on the operation panel
2. Press the POWER OFF key on the machine screen, and then turn the main power switch of the machine to OFF
3. Turn off the air conditioner switch
4. Turn the main power switch to "OFF"
9、 Record
1. When loading, the loading time, loading station, name of the material and the loader (signature) shall be recorded
2. Count the number of PCBs pasted on the day, make records and re report the extension of the patch
3. The abnormal conditions of the machine (broken optical fiber, deformed suction nozzle, etc.) and the maintenance of the machine shall be recorded in the "daily record book of the mounter".
10、 Cleaning the machine
1. Remove the discarded materials in the waste box and on the D-axis panel every day, pay attention to their types and numbers, so as to adjust the feeder and
Recycling of materials
2. Clean the paper in the waste box every day and clean the filter screen
11、 Pick
Select the materials thrown by the machine on the day, classify the materials and indicate the material name, model (0603, 0805 or 1206, IC, BGA) and other material quantities
12、 Remarks
1. During the operation of the machine, if abnormal conditions are found, use the ENGENCY key to shut down the machine and the Pause key as little as possible. If the rest time is short
No need to shut down after 1.5 hours
2. Pay attention to the operation of the machine at any time, and solve the problems found in a timely manner
13、 Active troubleshooting
After a long time of use, the mounter will inevitably cause certain consumption and damage to the machine. Therefore, troubleshooting is also an important work. In this way, we can find problems in time, find problems, and solve problems quickly and effectively, which is the main purpose and role of troubleshooting.

Just upload Gerber files, BOM files and design files, and the KINGFORD team will provide a complete quotation within 24h.